On the opening page of the playlist detail — the Overview tab — we see an overview of the state of the playlist on the left. The main piece of information here is the indication of whether the playlist is ready for playback  , or whether the process has not finished yet
  .
.
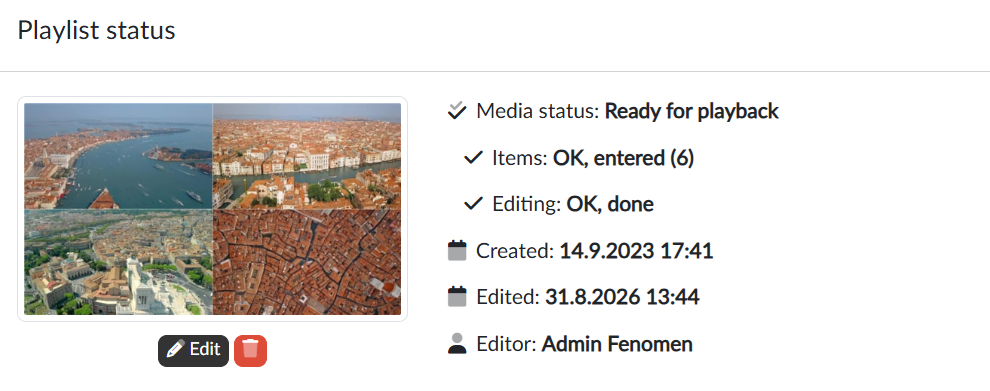
The rows below show the state of:
- Items — the playlist has at least one item; next to the state we also see how many there are. We add them on the Playlist content tab.
- Editing of the mandatory descriptive data. The mandatory fields may be defined differently on each portal and on the Descriptive data page they are marked with an asterisk.
If both states are indicated as finished, the overall state of the playlist is indicated as “ready for playback”. Below the states we also find the dates of creation and last edit and the name of the editor.
The preview image
Once the playlist has been set up, a default image appears on the page, which will be used on the public pages of the portal. It can be changed in the dialog we open with the Edit button, either
- with the Generate preview image button, which composes a preview from reduced previews of the first four items of the playlist that already have a preview of their own,
- or by uploading our own preview image in JPG or PNG format (Upload own preview). Here we recommend keeping the 16:9 aspect ratio and a size of at least 640x360, ideally matching the real dimensions of the video frame. When preparing our own graphics, it is worth bearing in mind that the image will appear both in a reduced version in media listings (roughly 300px wide) and at full size on the detail page.
The button with the bin icon  deletes the inserted preview again.
The link to the playlist and the sharing codes
At the bottom of the left-hand column we have a link to the playlist page on the portal ready. With the  icon we copy it to the clipboard, and clicking it opens the public page of the playlist in a new tab. The link appears once the playlist is ready for playback.
Below the link there are the playlist sharing codes, that is, the codes for embedding the playlist player in another page — the same as for a media file. We copy each of them to the clipboard with the icon next to the code. They, too, are shown once the playlist is ready for playback.
Adding the playlist to a channel
On the right-hand side of the overview page we also find a card for quickly adding the playlist to channels.
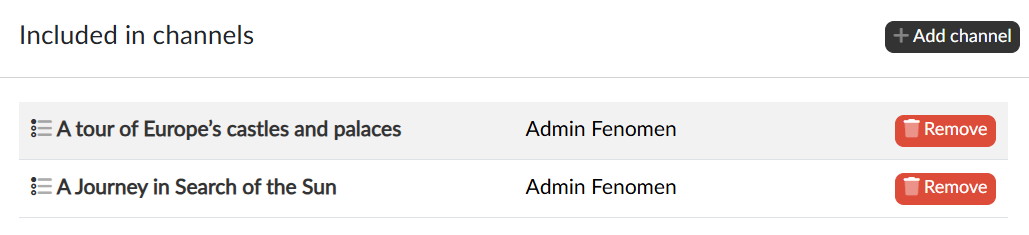
On the card we see which channels the playlist is included in, and with the Add channel button we can publish it straight into another of the channels we have access to. Clicking the name of a channel takes us to its editing, and the Remove button takes the playlist out of the channel.